If you are a PS4 gamer, you may have experienced a frustrating problem with your controller: the analog stick drift. This is when the stick moves on its own, causing your character or camera to move in unwanted directions. Stick drift can ruin your gaming experience and affect your performance.
Fortunately, there are some ways to fix it yourself or get it repaired by Sony. Here are some ways you can use to fix PS4 controller drift.

What is Controller Drift?
Controller drift is a persistent issue in gaming where a joystick or analog stick on a controller registers unintended movements, often causing characters or cursors to drift on-screen without user input.
This problem has plagued various gaming consoles, leading to frustration among gamers worldwide. Manufacturers continue to work on solutions to mitigate controller drift and improve user experience.
Why Does My PS4 Controller Drift – Possible Causes
One of the most frustrating issues that PS4 gamers can face is controller drift, which is when the analog stick moves by itself without any input from the user. This can affect the gameplay and ruin the experience.
There are several possible causes for PS4 controller drift.
How to Fix PS4 Controller Drift
Before you try to fix your PS4 controller drift yourself, make sure that your controller is out of warranty. Opening the controller will void the warranty, so if it is still valid, you should contact Sony for a free repair or replacement. If your PS4 controller is no longer under warranty, you can try these methods to fix stick drift:
1. Reset your PS4 controller
This is the simplest and easiest method to try first. Resetting your PS4 controller will restore it to its factory settings and clear any software issues that may cause stick drift.
To reset your PS4 controller, follow these steps:
- Turn off your PS4 console and controller.
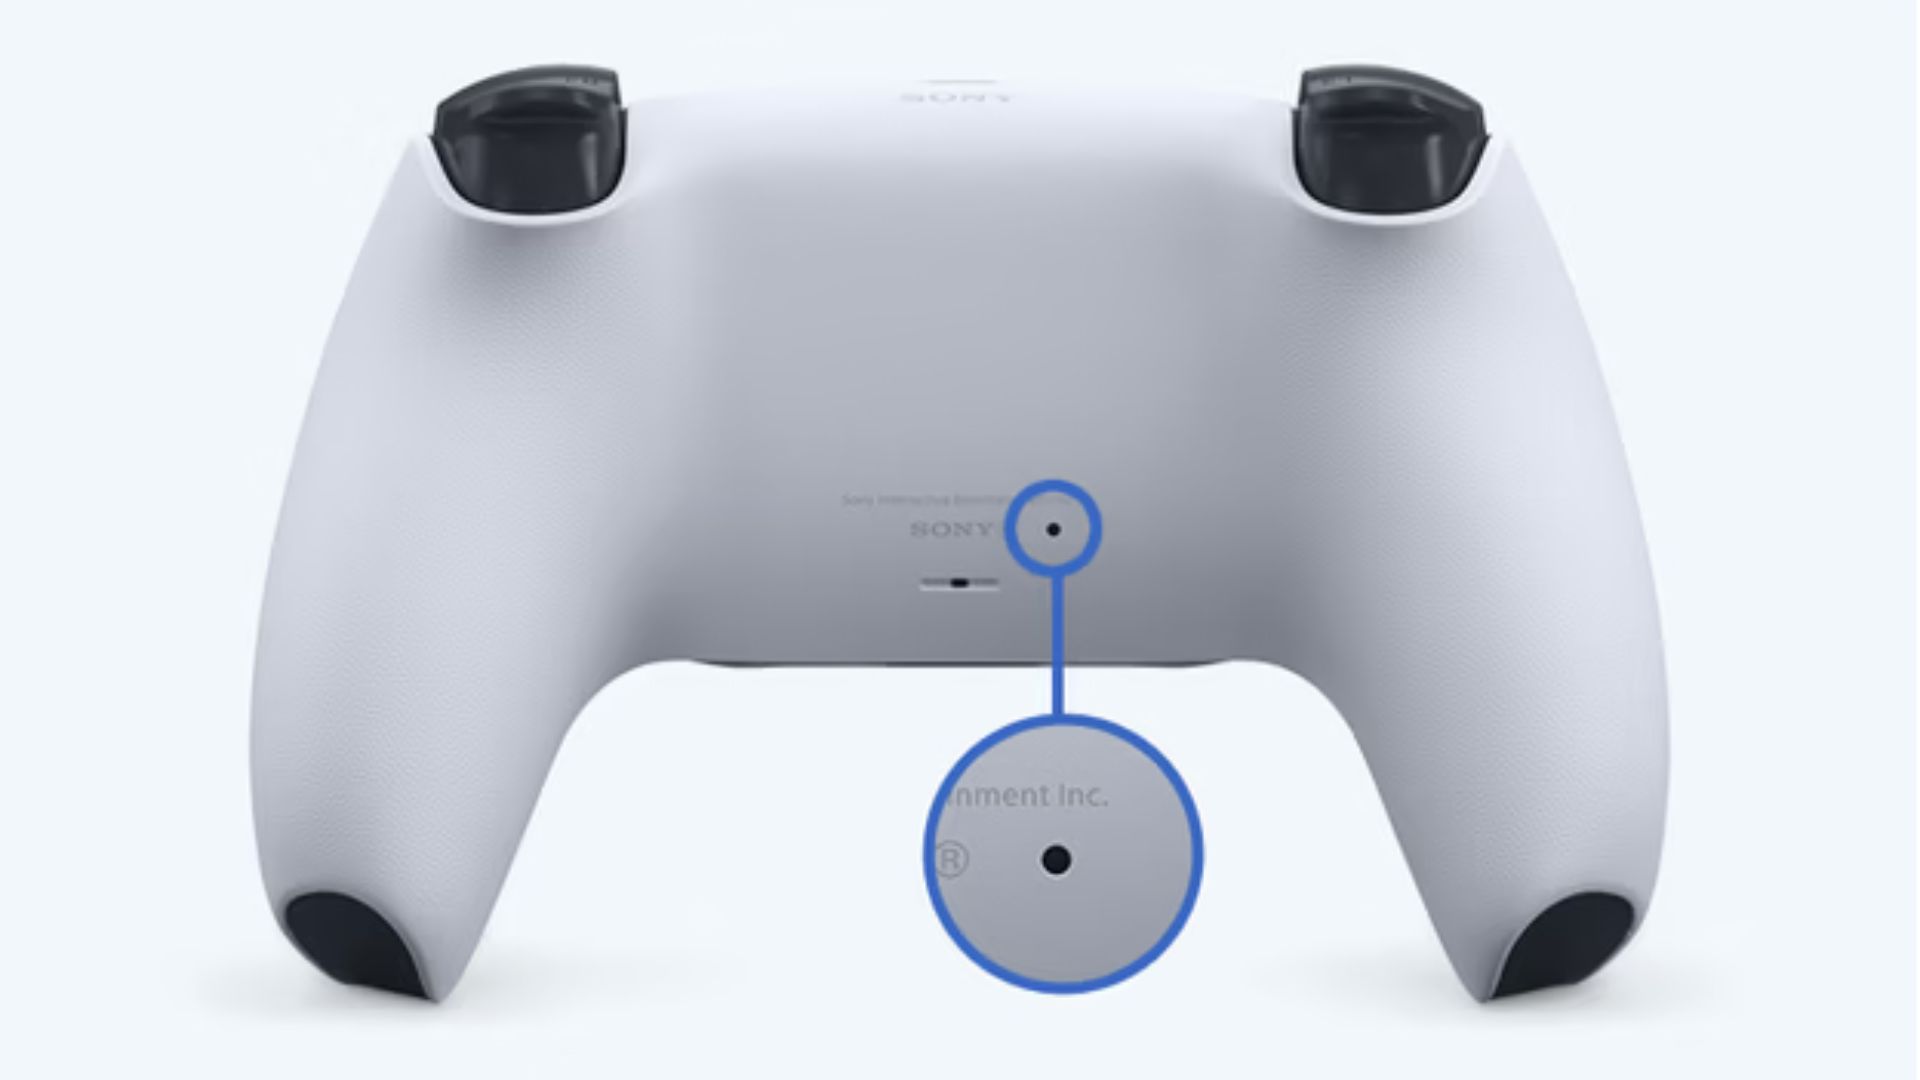
- Press and hold the small reset button on the back of the controller near the L2 button using a pin or paper clip for five seconds.
- Press and hold the reset button for about 5 seconds, then release it.
- Connect your controller to your PS4 console with a USB cable.
- Turn on your PS4 console and press the PS button on your controller to sync it.
If resetting your controller does not fix the stick drift, you may have a hardware problem with the analog sticks. In that case, you need to try other methods.
2. Clean the PS4 Controller Surface and Sticks
Another possible cause of stick drift is dust and debris that get stuck around the analog sticks. This can prevent them from returning to their neutral position and cause them to register unwanted movements.
To clean the controller surface and sticks, you will need
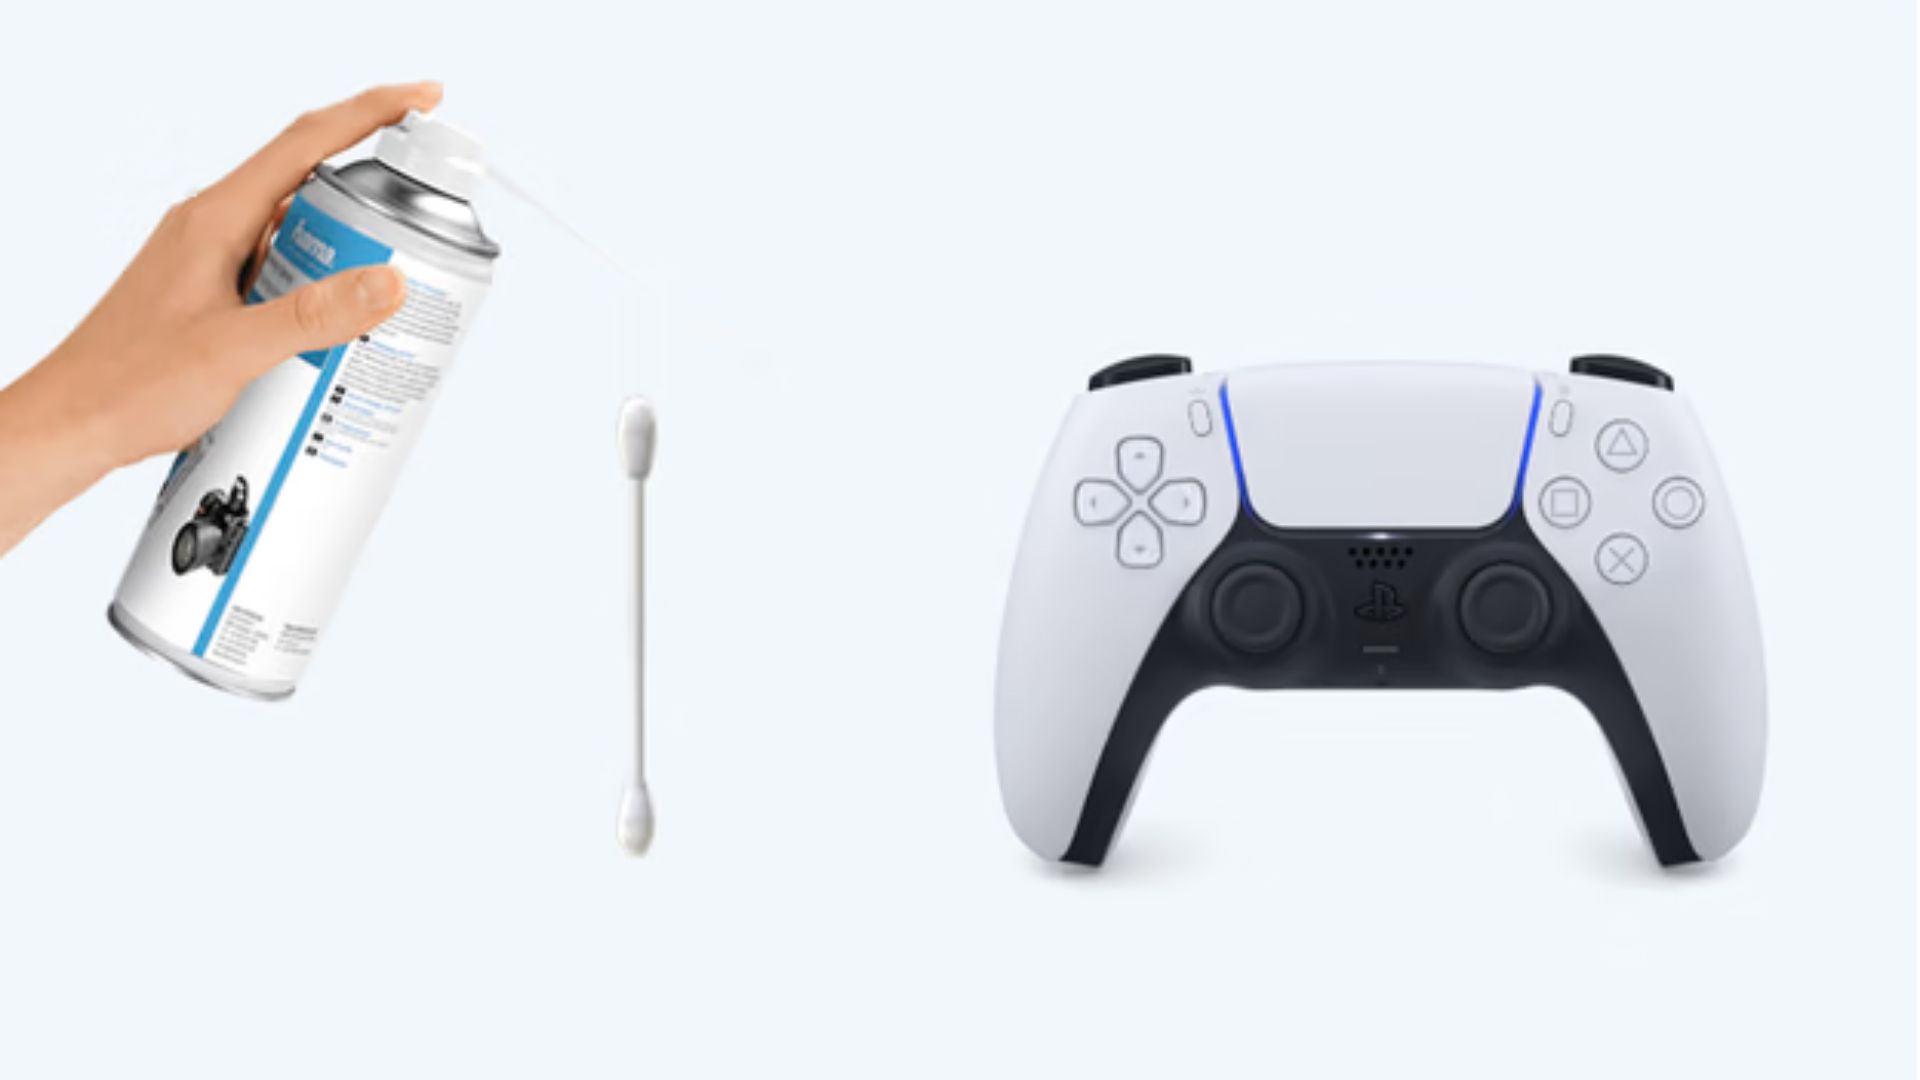
- Compressed air
- Isopropyl alcohol
- A Cotton swab
To clean your PS4 controller surface and sticks, follow these steps:
- Turn off your PS4 console and controller.
- Get a cotton swab and some isopropyl alcohol (at least 70%).
- Dip the cotton swab in the alcohol and gently wipe around the crevices of the analog stick. Do not use too much alcohol or force, as this may damage the controller.
- Use a can of compressed air to blow away any remaining dirt or dust from the analog stick. Hold the can at least 10 cm away from the controller and spray in short bursts.
- Repeat these steps for both analog sticks.
If cleaning the controller surface and sticks does not fix the stick drift, you may need to open up the controller and clean the inside.
3. Clean inside the PS4 controller
Sometimes, dust and debris can get inside the controller and affect the sensors of the analog sticks. This can cause them to malfunction and register false inputs.
To clean inside the controller, you will need
- A Phillips screwdriver
- A plastic pry tool
- Compressed air
- Isopropyl alcohol
- A cotton swab
To clean inside the controller, follow these steps:
- Turn off your controller and PS4 console.
- Remove the four screws on the back of your controller using a Phillips screwdriver.
- Use a plastic pry tool to separate the front and back shells of your controller gently. Be careful not to damage any wires or components inside.
- Lift the battery from its connector and set it aside.
- Use compressed air to blow away any dust or dirt from the motherboard and the analog stick modules. Do not use too much force or direct the air to sensitive parts.
- Dip a cotton swab in some isopropyl alcohol and gently wipe around the sensors of the analog stick modules. These are small metal pieces that rotate when you move the sticks. Be careful not to use too much alcohol or let it drip inside the modules.
- Let the alcohol dry completely before reassembling the controller.
If cleaning inside the controller does not fix the stick drift, you may need to replace the analog sticks or get a new controller.
4. Replace the PS4 analog sticks
If none of the above methods work, you may have to replace the analog sticks and their potentiometers entirely. This is also a complex method that requires soldering skills and tools, so it may be easier and cheaper to buy a new controller instead.
However, if you want to try it, you will need some replacement parts that you can buy online:
- A Phillips screwdriver
- A soldering iron
- A pair of tweezers
- Replacement analog sticks or potentiometer
To replace the analog sticks, follow these steps:
- Turn off your PS4 console and controller.
- Remove the four screws on the back of the controller and carefully lift off the back cover.
- Disconnect the battery from the motherboard by gently pulling on its connector.
- Remove the two screws that hold the motherboard in place and lift it out of the front cover.
- Locate the analog sticks and their potentiometers on either side of the motherboard. They are connected by wires that are soldered to small metal pads.
- Use a soldering iron to heat each pad and remove each wire from one potentiometer at a time. Be careful not to damage any other components or burn yourself.
- Use tweezers to pull out each potentiometer from its socket on the motherboard. You may need to wiggle them slightly to loosen them.
- Insert a new potentiometer into each socket and make sure they are aligned correctly.
- Use a soldering iron to reattach each wire to its corresponding pad on each potentiometer. Make sure there are no loose wires or short circuits.
- Reassemble the controller by reversing these steps.
Method 5: Repair or Replace the Controller
If none of the above methods work, or if you are not comfortable with opening up or soldering your controller, you may need to repair or replace your controller. If your controller is still under warranty, you can contact Sony and request a free repair or replacement. Visit the PlayStation Hardware & Repairs page, select DualShock 4, and follow the prompts to check for eligibility.
If your controller is out of warranty, you can either pay for a repair service from Sony or a third-party company or buy a new controller. Depending on the cost and availability, you may find it more convenient to get a new controller instead of repairing your old one.
Conclusion
PS4 controller drift is a common problem that can affect your gaming performance and enjoyment. However, there are some ways to fix it yourself or get it fixed by someone else. You can try resetting, cleaning, or replacing parts of your controller depending on the cause and severity of the drift. If all else fails, you can repair or replace your entire controller.
We hope this article has helped you learn how to fix PS4 controller drift and get back to gaming smoothly. If you have any questions or feedback, please leave them in the comments below.
FAQs
How do you fix stick drift on PS4 controller?
To fix stick drift on a PS4 controller, try resetting it by pressing the reset button on the back or using the PS4’s software calibration tool. If that doesn’t work, consider cleaning or replacing the thumbsticks.
Why is my PS4 stick drift suddenly?
Sudden PS4 stick drift can occur due to wear and tear, dirt, or calibration issues. Cleaning the thumbsticks and recalibrating can often resolve the problem.
How do you calibrate the PS4 drift?
Calibrate a PS4 controller with drift by going to the “Devices” menu in settings, selecting the controller, and then choosing the “Calibrate” option. Follow the on-screen instructions to finish.
How do I fix my controller drift without opening it?
You can fix controller drift without opening it by cleaning the thumbsticks, recalibrating through the PS4 settings, or using compressed air to remove dust and debris around the thumbsticks.
Does dust cause stick drift?
Yes, dust and debris can cause stick drift in a PS4 controller. Regularly clean around the thumbsticks to prevent or alleviate this issue.


That is very attention-grabbing, You are an overly skilled blogger. I have joined your rss feed and look forward to searching for more of your great post. Additionally, I have shared your web site in my social networks!
It¦s actually a nice and helpful piece of info. I¦m happy that you just shared this helpful info with us. Please stay us up to date like this. Thanks for sharing.
Thank you! Glad you found it helpful. More updates coming!