Adding creative transitions to your Instagram Reels is a extraordinary way to catch interest, maintain your viewers engaged, and upload a laugh rhythm for your motion pictures. While you can use strategies like suit cuts, blocking the camera, or hand wipes to interchange between scenes, Instagram’s present day feature makes it even simpler to add transitions to Instagram reels or in your clips and images.
In this educational, we will display you the way to immediately upload transitions on your motion pictures and pix using Instagram Reels, and additionally introduce an online device for greater customizable transitions to make your Reels stand out.
Method 1: How to Directly Add Transitions in Instagram Reels
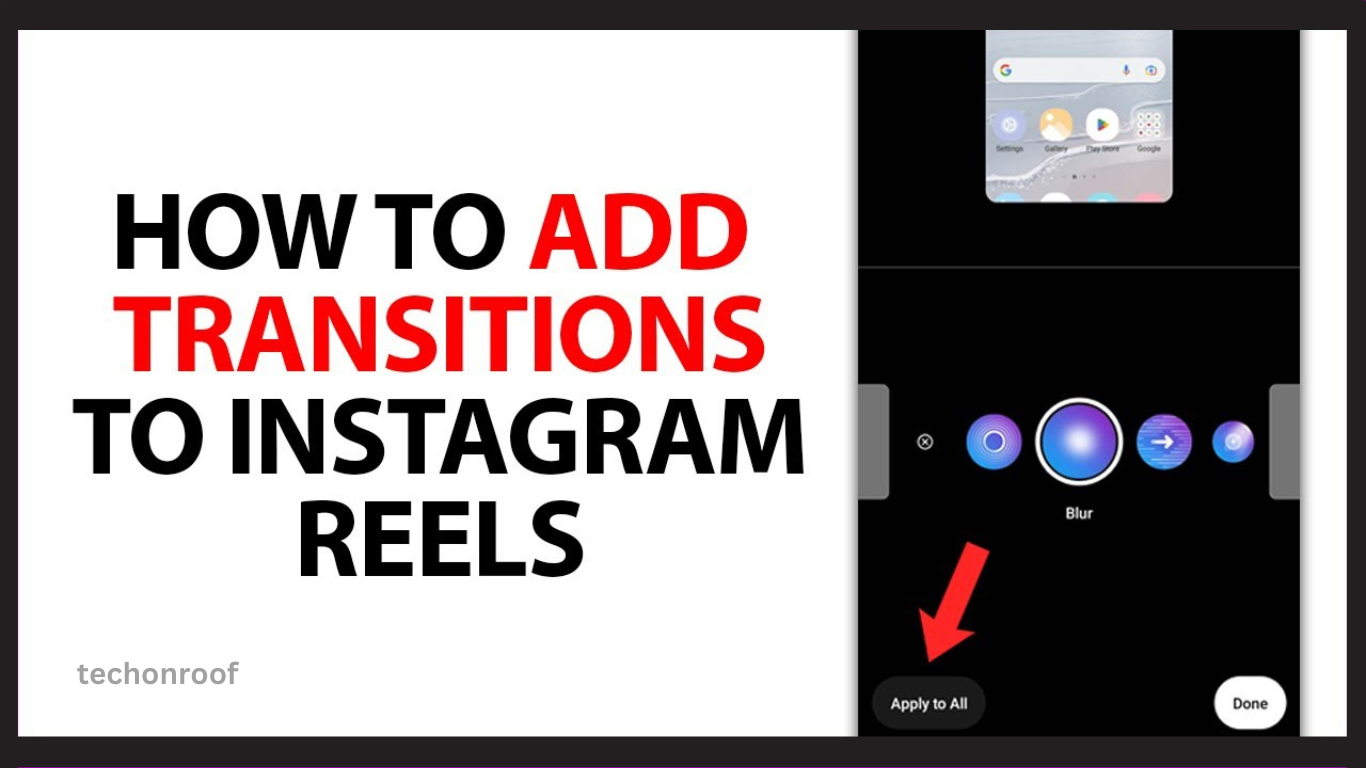
Instagram Reels now offers 6 built-in transition effects: Zoom, Blur, Warp, Flare, Spin, and Glitch. You can easily apply these to your videos and photos to create smooth transitions between clips.
Step-by-Step Guide
Step 1: Open Instagram Reels
- Launch your Instagram app and swipe left to open the Reels camera.
Step 2: Record or Upload Clips
- You can either record new clips or upload pre-recorded videos and photos from your phone.
- After adding your clips, tap the Preview/Next button.
Step 3: Add Transitions
- Tap the Edit Clips button in the bottom left corner of your screen.
- Then, tap Transitions, and you’ll see a Plus (+) sign between your clips.
- Tap the Plus sign, and you can choose one of the 6 transition effects (Zoom, Blur, Warp, Flare, Spin, Glitch) to connect your clips.
- Once you’ve selected the effect, tap Done.
Things to Keep in Mind:
- You can preview the transition effect before applying it.
- You can add transitions to the start or end of your Reels, or tap Apply to All to add the same transition to every clip.
- You can trim your clips before adding transitions.
Step 4: Post Your Reel
- After you’re satisfied with the transitions, tap Next to post your Reel.
Method 2: Using FlexClip for More Transition Options
While Instagram offers a few simple transition effects, it’s somewhat limited. If you want more variety and customization, you can use an online tool called FlexClip. It lets you choose from over 200 transitions, including popular effects like liquid, circle, ripple, and more. Plus, you can customize the duration and direction of each transition.
How to Use FlexClip for Instagram Reels Transitions
Step 1: Upload Your Videos to FlexClip
- Go to FlexClip’s website and upload your pre-recorded videos and photos from your phone or computer.
Step 2: Set the Video Aspect Ratio
- Set the aspect ratio to 9:16 to fit Instagram Reels.
- Click the Plus (+) sign to add your clips to the timeline, and you can drag the slider to trim or rearrange your clips.
Step 3: Add Transitions
- Click the Transition tool between your clips.
- Choose from 200+ transitions like liquid, circle, or ripple. You can customize how long the transition lasts and even change its direction or colors.
Step 4: Make More Edits (Optional)
- You can add sound effects like swoosh or whoosh to enhance the transitions.
- Add animated text, color filters, or even GIPHY stickers to make your Reels more dynamic.
- You can also apply cool overlays like lens flares or film grain to give your Reel a polished look.
Step 5: Preview and Share
- Once you’re done, preview your Reel to make sure everything looks great.
- You can download the finished video to your computer or share it directly to YouTube, Google Drive, or Dropbox. FlexClip also gives you a link or embed code for easy sharing.
Conclusion
By using Instagram’s built-in transitions or tools like FlexClip, you can easily add engaging, professional-quality transitions to your Reels. Whether you want quick and simple effects or more customizable options, these methods will help you create Reels that stand out from the crowd!

